We all like to be independent, whether for our finances or a task close to our heart. So when it comes to taking care of your bike, why look for help outside?
In this article, we highlight the best options available in the market for paint for your dirt bike. Each of these products will take you on a do-it-yourself journey, awakening the artist inside of you.
Table of Contents
Best Paint for Dirt Bike Plastics
But before that, you should be aware of the factors to keep in mind before purchasing paint.
The type of paint: The components of paint determine its quality. The higher the quality, the better will be the result.
Protection against humidity: Since your bike will endure different weather conditions, choosing a paint that will fight against moistness is essential.
The texture of the surface: The manner in which the paint will adhere depends on the surface. Since we have taken into consideration three important factors, let’s look at the list of products.
1. Krylon K02422007 ‘Fusion for Plastic Paint
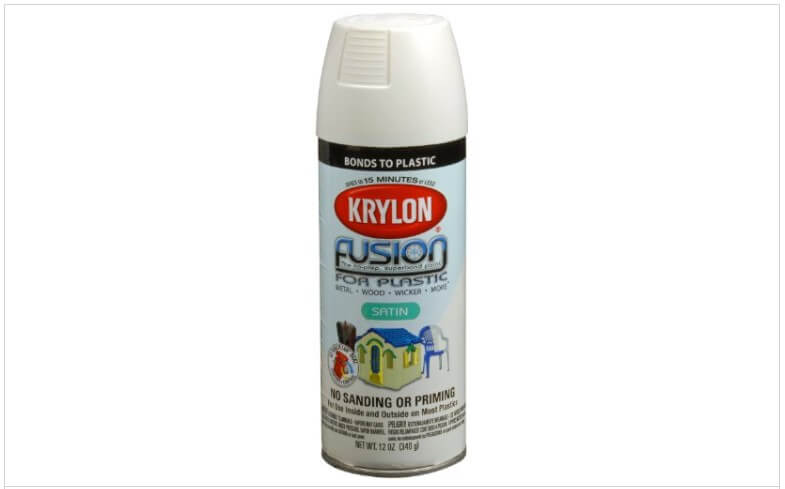
This product is for people with a creative mind but the energy of a sloth. (Don’t worry, I am one of them too!) What I mean by this is that Krylon K02422007 ‘Fusion for Plastic Paint is the perfect fit for an audience who wants an obstacle-free course for painting. Creativity comes from being in a state of flow and, Krylon K02422007 helps you do just that!
The design of the body is well thought of. Its revolving spray tip can cover areas at acute angels as well as obtuse angles. The effortless rotation helps in painting wider dimensions in less time.
The peculiarly curated spray tip leaves no chances of over spraying, leakages, or an untidy look due to excessive covering.
The paint helps the platform to become chipping resistant within a week of painting. Such a fast-drying mechanism makes the paint suitable for objects that are used for outdoor purposes.
While a finishing varnish touch is necessary with most paints, there will be absolutely no need for it if you use this product. The paint is formulated in such a manner that its application leaves the object ready to use directly once the paint is dry.
There is no need for polishing with sandpaper or applying primer. This feature allows the user to not incur any additional costs, along with saving lots of time.
By using this product, you surely will be able to give your bike a new look. The paint is suitable for various surfaces with different textures, including melamine, wood, metal, and vinyl.
If you are someone who likes to stand out, then this paint is for you! The range of colors is vibrant and classy; some examples are subtle almond, light-leafy green, and blood red.
The brand has a trustworthy image. It is pocket-friendly and ensures that the users get maximum usage of its products. An additional benefit of this product is that if you have excess paint with you, you can use it to decorate other plastic objects!
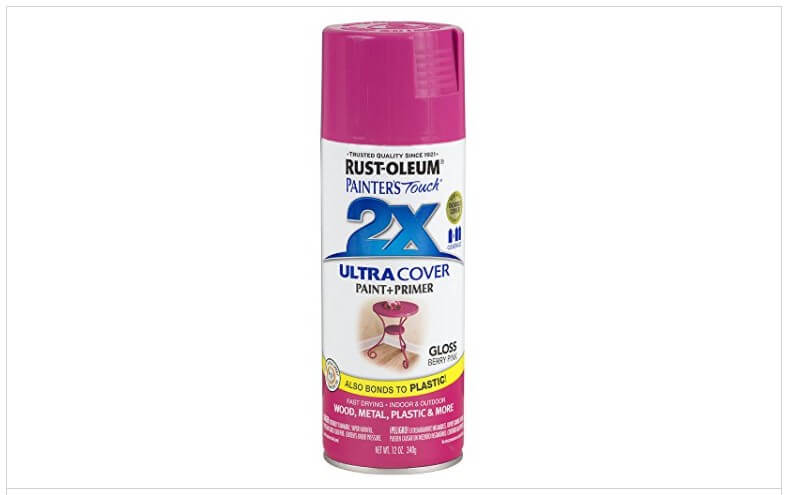
2: Rust-Oleum 249123
Are you one of those people who define the quality of a product by looking at its price tag?
If yes, then this product is the one for you. While it may not be one of the inexpensive options, it indeed offers excellent bang for your buck!
It is essential to think of the quality of the product that you plan to purchase before looking at its cost. Rust-Oleum 249123 lets its users have a hassle-free painting experience. It uniformly covers surfaces in a fast-paced manner.
If you intend to give your bike a great appearance, there might be a chance that you would require several cans. The paint offers its best looks when adequate layers of it are coated evenly on the surface.
The structure of the can is carefully planned. Its tip allows users to cover large areas in one go. Unlike most spray cans, this product does not cause any discomfort while doing the painting process.
It not only makes the painting process look effortless but, due to its well-structured body, it does not cause any strain in the users’ wrists.
It is natural for your bike to lose its charm over timing because of facing rough conditions; this paint will help you to make your bike look stunning again. Along with reviving the looks of your bike, the color helps preserve the parts of your bike from rust, dirt, or weather.
It is very common for small parts of your bike to lose color or develop cracks over time due to the conditions in which it’s driven. In such situations, there are chances that painting above a damaged surface will not result in an acceptable appearance.
However, with Rust-Oleum 249123, you can fill these gaps and make it look like there wasn’t any flaw present.
It does not require a long time to dry; about 20 minutes of complete drying can make the product ready to use. Experts recommend coating the surface twice or thrice with the paint to give it the best aesthetic look.
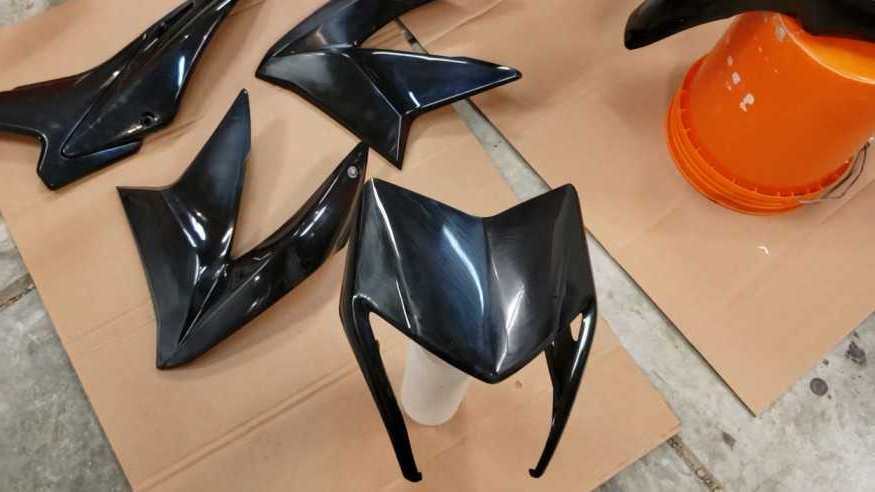
3: Rust-Oleum 12 oz. Gloss Black Enamel Spray Paint
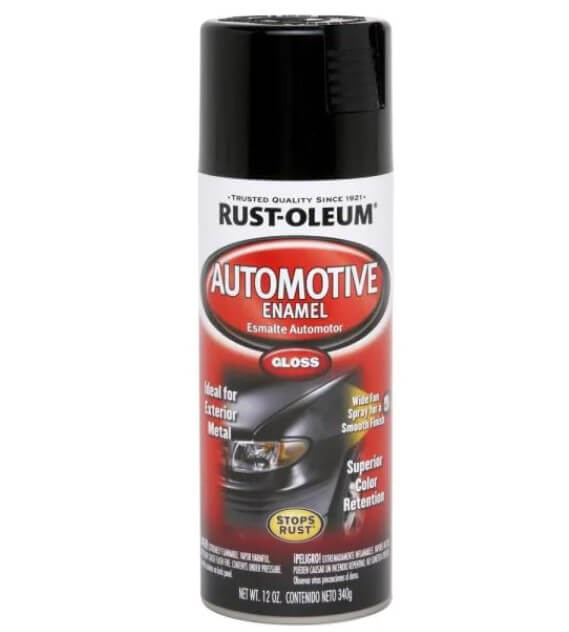
Are you looking for a product that serves multiple painting purposes? Then look no further!
Rust-Oleum 12 oz. Gloss Black Enamel Spray Paint enables you to coat a variety of surfaces like resin, fiberglass, PVC, and so on. This product has an easy application process.
For best results, users advise the direct application of the paint on dry and dust-free surfaces. This feature ensures long-lasting results and uniform covering.
One differentiating factor of this product is its soft-glossy finishing touch. As a rider, one would want to use a product that wouldn’t need quick touches from time to time.
The paint provides a year-long guarantee against chipping. However, there are chances of the color getting damaged due to harsh conditions. Even in those cases, products by this brand warrant perfect blending.
Experts also suggest double coating the paint for the best results.
Since it dries faster, it saves a lot of time for the user. The paint approximately takes 20 to 30 minutes to dry before applying a second coat.
The user has to keep the bike idle for 24 hours for the color to settle nicely. The product is two in one; it is a paint along with being a primer.
So, what else does this product do? While the primary purpose might be to enhance your bike’s appearance, one should also protect its outer parts.
The environment in which the bike functions usually involves rust, dust, and tiny stones. These can cause breakages or deteriorate the components of the bike. Gloss Black Enamel Spray Paint aids in preserving these parts and renewing them.
The spray cans are available in various sizes. An area up to 12 sq. feet can be covered by using only the tiny can! You can purchase it online as an individual unit or in a pack of cans. Each unit weighs around 12 ounces.
The form of the can is such that it minimizes discomfort in the arms of the user. It allows different types of hand movements without spilling to apply paint on the surface. The design of the spray can cover even the hard-to-reach places.
4: ColorBond LVP Leather, Vinyl & Hard Plastic Refinisher Spray Paint
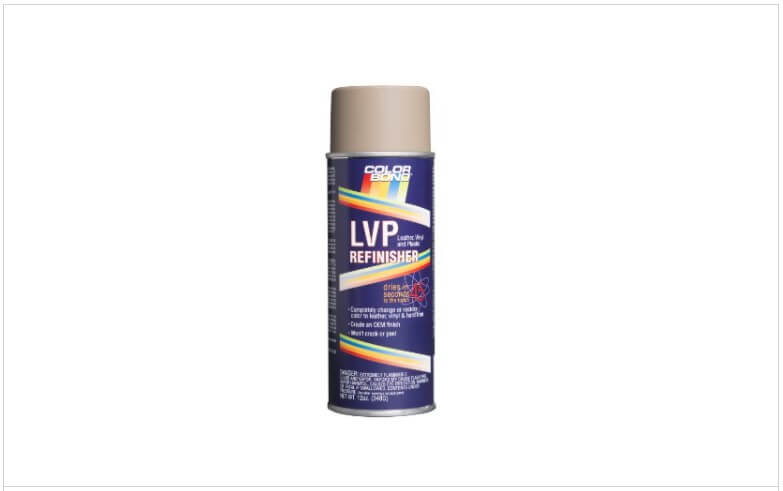
Most spray paints offer to cover two kinds of surfaces, plastic, and metal. ColorBond LVP Refinisher Spray also offers to cover plastic and metal with an addition of leather. This product is mainly suitable for seats and handles.
The process of using this spray paint is pretty simple. Due to continuous usage, the seat decolorizes over time, making it look shabby. This product helps in rejuvenating the look of your seat too!
The paint gets absorbed through the cushioning of the leather, thereby guaranteeing no chipping or peeling. It creates a tight bond with the molecules, which helps in locking in the color.
It improves the way the surface looks while maintaining its quality. The product warrants fast yet reliable results.
Though the product is of high quality, it is light on the pocket. ColoBond produces over 90 contemporary and classic OEM aerosol colors. As a user, you get to choose from a line of different colors that define your bike’s story.
For better application and bonding, it is advisable to remove the component from the main body and then begin the procedure of painting. Before applying the paint, one should deeply clean the element with ColorBond prep cleaner.
To make sure the color stays for a long time, remove all the silicons and conditioners from the surface before painting.
Experts recommend using adhesion promoter while coloring hard surfaces. The adhesion promoter makes it easier for the paint to stick on the hard surface. The touch and feel of the surface once the paint is dry is uniform, and it has a matt finish.
Re-applying the paint at least two to three times delivers the best outcome. It dries instantly, thus conserving a lot of time for the user.
ColorBond LVP takes only 45seconds to dry to touch. After a 10 minutes gap between the first coating, the object is ready to be repainted.
Conclusion
Just like we take care of how we look and feel, it is vital that we do the same for our bikes. We search for the best filters, oils, and tires, but we often forget that the body of the bike comes in contact with the harsh environment first. The contaminants harmfully affect the color and texture of the bike.
It is therefore imperative to use the best coating for the components of your bike. Temporary fixes with the help of the right paint prove to be helpful in the long run.
It is natural to choose the cheapest available product in the market, however for long-term benefits, ensure to get a high-quality product.
Among the options stated above, the most affordable one is Rust-Oleum 12 oz. Gloss Black Enamel Spray Paint (Pack of 1). But if you prefer premium quality, then Krylon K02422007 ‘Fusion for Plastic Paint is the right choice.
Types of Plastic Paints
If you want to change the look of your dirt bike without spending a lot of money, painting its plastic parts is a great option. However, not all paints are created equal – some will work better on plastic than others. Here are four of the best paints to use when painting your dirt bike’s plastic parts:
1. Acrylic paint: Acrylic paint is a great option for painting plastic parts because it dries quickly and is easy to apply. It also comes in a wide range of colors, so you can find the perfect shade for your bike.
2. Enamel paint: Enamel paint is another good option for painting plastic parts. It dries slowly but forms a durable finish that can withstand wear and tear.
3. Spray paint: Spray paint is a great option for painting large surfaces, like the plastic parts on a dirt bike. It dries quickly and comes in a wide range of colors, so you can find the perfect shade for your bike.
4. Touch-up paint: If you’re looking for a low-cost option, touch-up paint is a good choice. It comes in a variety of colors and can be used to cover small scratches or chips in the plastic parts of your dirt bike.
No matter which type of paint you choose, make sure to test it on a small area of the plastic part first to see how it looks and how well it adheres to the surface. With the right paint, you can give your dirt bike a fresh new look without breaking the bank.
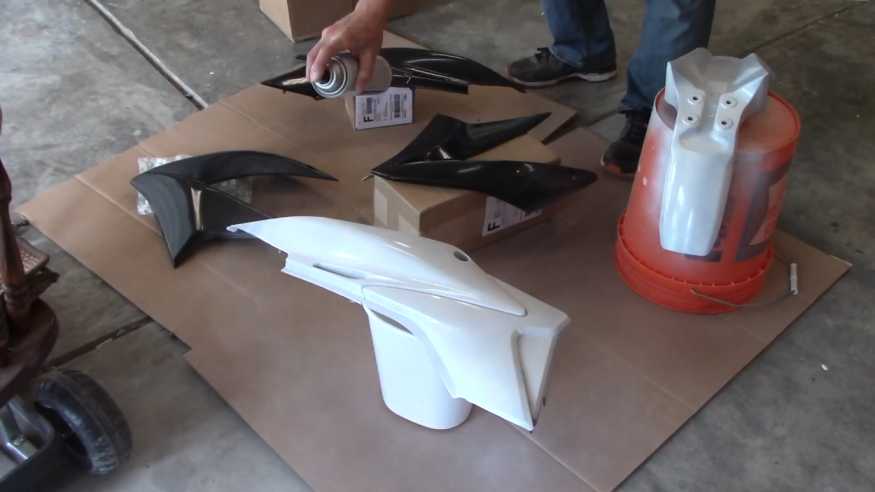
Important things to do before painting your dirt bike
If you’re looking to give your dirt bike a fresh new look, painting it might be the answer. But there are a few things you need to do before painting your dirt bike to ensure a successful outcome. Here are the steps you need to take:
1. Clean the dirt bike thoroughly
This is probably the most important step – you want to make sure the dirt bike is completely clean before painting it.
Use a degreaser and scrub all of the surfaces until they’re free of any grease or oil. This will help the paint adhere better and avoid peeling or bubbling later on.
2. Sand down any rough patches
If there are any rough patches or areas that are bumpy, sand them down using a fine-grit sandpaper. This will make the surface smoother and even out any irregularities in texture.
3. Fill and repair cracks and scratches
If there are any cracks in the plastic, metal, or fiberglass parts of your dirt bike, repair it with an epoxy filler until they aren’t visible anymore.
For deeper cracks, use an auto body putty for plastics and fiberglass resin for fiberglass parts to fix them up before painting.
Scratches can be repaired with auto-touch-up paint (a lot of people prefer spray cans) for small scratches or metallic paint pens for deeper ones.
You can also cover up minor damage using vinyl spray paint if you want the area to look painted but don’t want to spend the time to match it.
4. Remove fasteners
Remove all bolts or screws protruding from your dirt bike before painting it. This is both for aesthetics and to make sure the paint doesn’t chip off where there is hardware coming through.
The best way to do this is by using a Dremel rotary tool with a cutoff wheel attachment, but if you don’t have that you can use wire cutters or even pliers.
All that needs to be done after removing the bolts is thread-locking them back into place once you’re done with the painting process – thread-locking fluid works very well at keeping things in place throughout the painting process!
5. Mask everything else
The final step of prepping your dirt bike for painting is to mask off everything else not being painted. Tape up the wheels, chain, sprockets, and any other moving parts that shouldn’t be painted.
Masking tape works well since it’s easy to remove after painting without leaving any sticky residue behind.
6. Prime your dirt bike
Primer helps the paint adhere properly to the surface of the dirt bike so you don’t have to sand it down in between coats.

Spray primer in light coats until there are no visible lines or missed areas, waiting about 30 minutes after each coat before applying another one to fully dry. Sand lightly with fine-grit sandpaper in between primers if necessary before moving on to regular topcoats.
7. Apply topcoat paint
After the primer has dried, apply topcoat paint in light coats. Wait for each coat to dry before applying the next one.
You might need to apply a few coats of topcoat paint to achieve the desired look, but it’s best not to apply too many at once or it will start to chip and peel.
8. Let the paint dry completely
Once all the paint is applied, let it dry completely before reassembling your dirt bike. This could take anywhere from a day to a week, so be patient!
9. Reassemble your dirt bike
Once everything is completely dry, reassemble your dirt bike using the bolts and screws you removed earlier, don’t forget to use thread-locking fluid on them to keep them in place!
Paint your dirt bike the wrong color? It’s not the end of the world! There are a few ways to fix that without having to strip everything down and start over.
1. If the paint is still wet, you can try to remove it by using a solvent like acetone or lacquer thinner. Be very careful when using these products, as they can easily damage the surface of your dirt bike.
2. If the paint is dry, you can try sanding it off with fine-grit sandpaper until you reach the original surface. This will take some time and elbow grease, but if you’re patient it will work.
3. Another option is to cover the painted surface with a new coat of paint in the correct color. This is the easiest option if you’re not too concerned about matching the paint perfectly, and it will hide any mistakes you might have made while painting your dirt bike.
No matter which method you choose, make sure to clean the surface of your dirt bike thoroughly before starting to avoid any unwanted paint problems down the road!
If you’re feeling creative, there are a lot of different designs and patterns you can create on your dirt bike using spray paint. Just make sure to use light coats and to wait for each one to dry completely before applying the next one.
You can also use vinyl spay paint to get cool textured effects. Be creative and have fun with it – the sky’s the limit!
How to clean up after painting your bike
When you are finished painting your dirt bike, it is important to clean up well. This means ensuring that all paint spillage and debris is gone before putting your paint supplies away.
The rule of thumb is if the paint doesn’t come off with soap and water then use acetone or other solvent-based cleaners to remove paint spills.
This may seem like a hassle, but it is important to clean up properly so that you don’t end up with any nasty surprises down the road.
For example, spilled paint can cause rusting or damage to surfaces it comes into contact with. So take the time to clean up properly and avoid any potential problems.
Steps:
1. After you are done painting your dirt bike, it is important to clean up well. Ensure that all paint spillage and debris are gone before putting your paint supplies away.
2. Use a blower brush with low pressure to remove dust, dirt, and debris from the frame, wheels, and other parts of the motorcycle [1].
3. Begin by applying brake cleaner using a spray bottle or aerosol can where you think there may still be some dirt or stains left behind on the dirt bike. Let this sit for several minutes before wiping it down again with paper towels.
4. Find a degreaser which is effective in breaking through heavy-duty grease and oil deposits, use it sparingly because too much of it can dry out the dirt bike’s finish.
5. Once all of this is done, use soap and water to clean the dirt bike surface with a sponge or brush, allowing soap bubbles to form before rinsing again with fresh water.
6. Afterwards right after you are finished cleaning your dirt bike with soap and water, remove all of the drying residues by using compressed air.
7. Finally move on to waxing it to give your paint job that extra shine. If there are still stains left behind then go over them again with a fine steel wool pad processed with solvent-based cleaners until completely gone.
8. Oil should be rubbed into the parts at the end of this procedure to prevent rusting.
9. Make sure it is all gone, if there are any stains left behind then use acetone or other solvent-based cleaners to remove them for good before storing away your paint supplies.
10. The rule of thumb is that the paint doesn’t come off with soap and water then use acetone or other solvent-based cleaners to remove paint spills.
Thanks for reading! We hope this article has been helpful. If you have any other questions about how to clean up after painting your dirt bike, please let us know in the comments section.